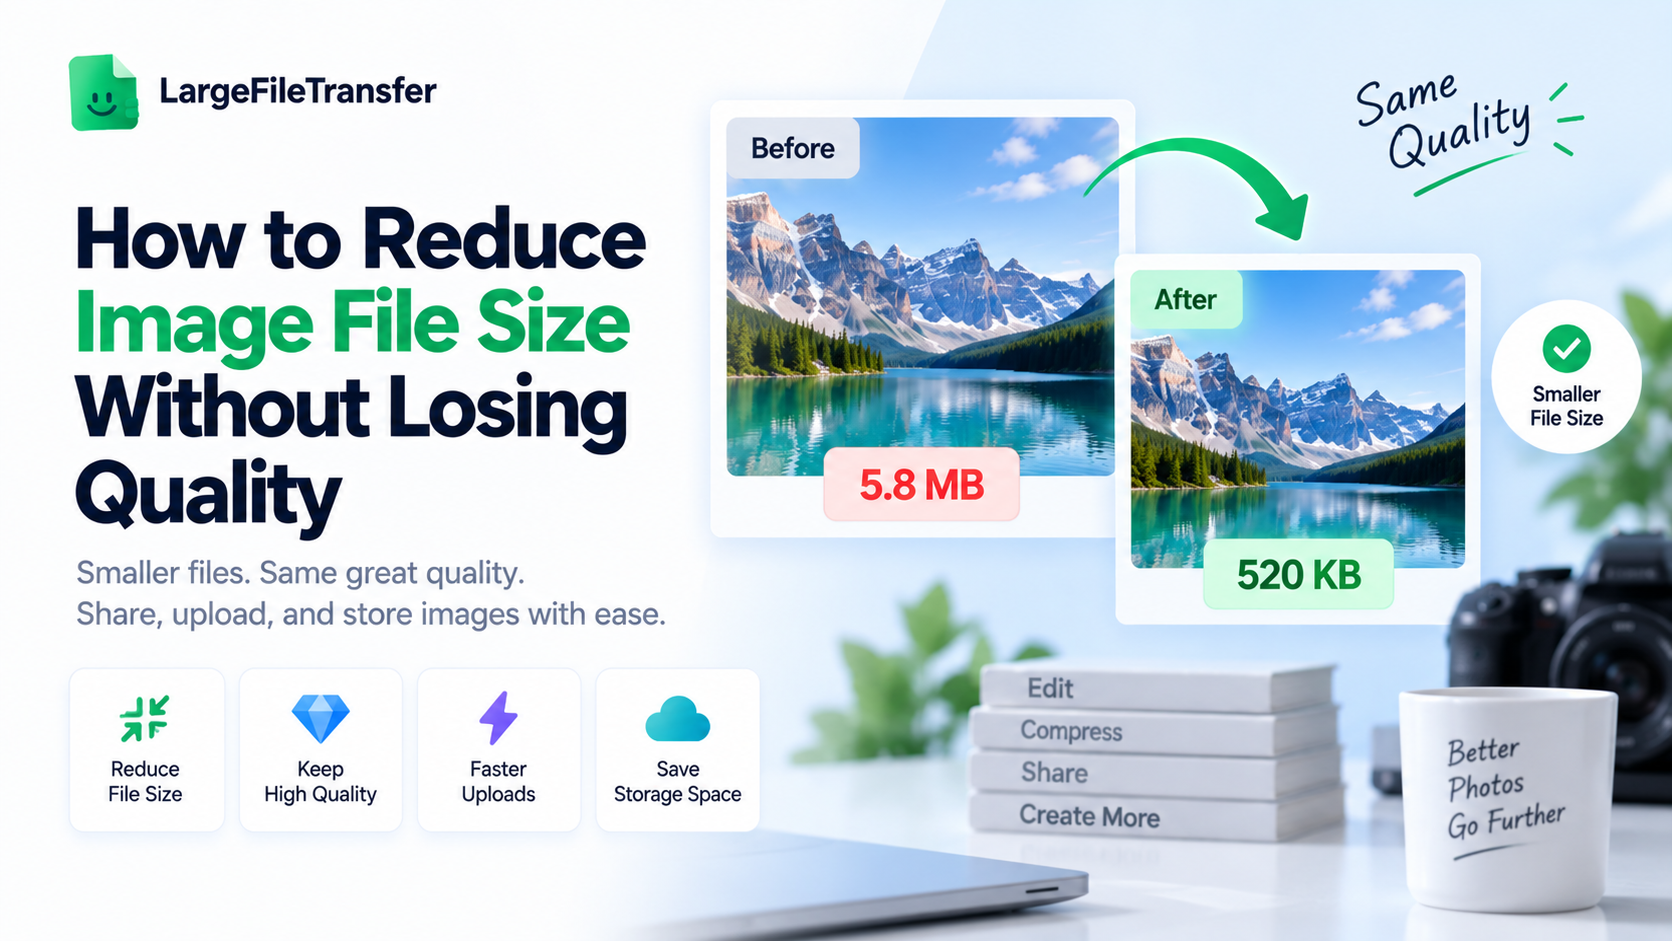
How to Reduce Image File Size Without Losing Quality
Large image files slow down websites, hit email attachment limits, and quickly fill phone and cloud storage. That means slower pages, photos that will not send, and storage you are constantly clearing out.
You can reduce image file size without losing quality by using the right compression method, file format, and dimensions. This guide shows you practical ways to shrink images while keeping them sharp and usable for websites, email, social media, and storage.
First, let’s look at why image file size matters and what compression actually does.
Why Is Reducing Image File Size Important?
Smaller image files load faster, take up less storage, and are easier to send, and each benefit has a measurable impact.
Large images slow websites, consume storage, and make sharing harder. Reducing their size speeds up pages, frees space, and makes files easier to send.
Here’s why each of these actually matters:
- Page speed: Large images can slow websites, and Google confirms page speed affects search rankings. A photo over 5 MB can add seconds to mobile load times.
- Storage: RAW and high-resolution photos can consume several gigabytes of phone or cloud storage within weeks.
- Shareability: Email providers and messaging apps often limit attachment sizes, and uncompressed photos can easily exceed those limits.
Reducing file size comes down to two core decisions: understanding compression types and choosing the right image format.
Lossy vs Lossless Compression: What’s the Real Difference?
Every image compression method falls into one of two categories: lossy or lossless, based on how image data is handled.
Understanding the difference is key to reducing file size without creating a visible drop in image quality.
Here’s how each one actually works.
- Lossy Compression
Lossy compression permanently removes some image data that the human eye is less likely to notice.
Common format: JPEG
Typical reduction: 60–80%
Best for: Photos, websites, email, and social media
At high-quality settings, the file becomes much smaller with little or no visible difference. Quality loss usually appears only with heavy compression or extreme zoom.
- Lossless Compression
Lossless compression reduces file size without discarding any image data, keeping every pixel exactly as it was.
Common format: PNG
Typical reduction: Smaller than lossy compression
Best for: Logos, screenshots, graphics, and professional editing
Because nothing is removed, the image remains pixel-for-pixel identical to the original. Choose it when preserving every detail matters more than achieving the smallest possible file.
Related: Need to send a large image batch or another oversized file? Learn how to send a 100GB file online without splitting it.
For everyday web, email, and social media use, high-quality lossy image compression usually gives the best balance of size and visual quality.
Which Image Format Produces the Smallest File Size?
The format you choose can affect final image size just as much as the compression settings you use.
Choosing the right format helps reduce file size while preserving the visual quality and compatibility you need.
Here’s how the most common formats compare.
- JPEG
JPEG is the standard lossy format for photographs, handling complex colors and gradients efficiently. It is universally supported, making it the default choice for photos across websites and email.
Specific claim: JPEG works especially well for detailed photographs with smooth color transitions.
- PNG
PNG uses lossless compression and is best for sharp edges, text, graphics, and transparency, such as logos and screenshots. For photographs, however, PNG files are usually much larger than JPEG.
Specific claim: PNG is often the better choice when transparency or pixel-perfect text matters.
- WebP
WebP supports both lossy and lossless compression and can deliver smaller files at similar visual quality. It is now supported by all major browsers.
Specific claim: WebP files are typically 25–35% smaller than comparable JPEG or PNG files.
- AVIF and HEIC
AVIF is newer and can be even more efficient than WebP for web images, while HEIC is Apple’s default photo format on iPhones. Both can produce smaller files than JPEG but may have compatibility limitations with older software.
Specific claim: HEIC is commonly used for photos captured on modern iPhones.
For most people, WebP offers the best balance of file size, quality, and compatibility, while high-quality JPEG remains a reliable alternative. To reduce photo size further, use PNG mainly when you need transparency or exceptionally crisp text.
Does Resizing an Image Reduce File Size?
Resizing reduces an image’s pixel dimensions, while compressing reduces file size by changing how that pixel data is stored.
Resize when an image will be displayed smaller than its original dimensions, and compress when you need to preserve those dimensions while reducing file size.
Here’s when to use each one:
- Resize first: A 4000px-wide photo shown at 800px on a website should be resized before compression. This removes unnecessary pixels and can produce the smallest possible file with no meaningful quality loss.
- Compress only: Keep the original dimensions when the full resolution is genuinely needed, such as for printing or professional archiving.
Example: A 4000 × 3000px photo resized to 1200 × 900px before compression can end up around 90% smaller than compressing the full-size original alone.
Related: Resizing large images can help when files are too big to attach, but videos often need a different approach. See 5 ways to send a video through email that actually work.
Combining resizing and compression correctly is the key to getting smaller files without sacrificing useful image quality, which the next section walks through step by step.
How to Reduce Image File Size Without Losing Quality?
Reducing image file size without visible quality loss takes four steps: choose the right format, resize the image, compress it, and remove unnecessary metadata.
This repeatable process usually takes less than a minute per image and works for photos, graphics, and screenshots.
Here’s the exact process:
- Choose the right format
Photos: JPEG or WebP
Graphics, text, or transparency: PNG - Resize before compressing
If the image will be displayed smaller than its original dimensions, reduce its pixel dimensions first. - Set compression to 75–85%
This range can sharply reduce file size while keeping images visually clean. Below 60%, compression artifacts become more noticeable. - Remove unnecessary metadata
Strip EXIF information such as camera details, timestamps, and location data when you do not need it. - Compare at 100% zoom
Check the compressed image against the original to confirm there is no visible quality difference.
Try a Free Image Compressor
The free image compressor lets you upload an image, choose JPEG, WebP, or PNG, and adjust quality with a live preview. You can handle format selection, compression, and quality checking in seconds.
Best Image Compression Settings by Use Case
The right amount of image compression depends entirely on where the file will be used. Email, websites, social media, and print each require different targets for file size, quality, and resolution.
Here’s what to aim for in each situation.
- Email and Attachments
Target: Keep each image under 1–2 MB and total attachments under the common 25 MB limit.
Smaller files are easier to send and less likely to face additional compression.
- Websites and Blogs
Target: Keep hero images under 200 KB and inline images under 100 KB where possible.
Smaller images help pages load faster and support a better user experience.
- Social Media
Target: Aim for roughly 1–2 MB at the platform’s recommended pixel dimensions.
Pre-compressing gives you more control before the platform automatically recompresses the upload.
- Printing
Target: Keep the original resolution and use lossless PNG or minimally compressed, high-quality JPEG.
Print exposes quality loss more clearly, so prioritize resolution over aggressive compression.
The Image Compressor lets you adjust quality for each use case without guessing.
How to Batch Compress Multiple Images Without Losing Quality?
Batch compressing multiple images saves time, as long as the same format and quality settings work for every image.
Here’s how to batch compress without losing quality:
- Group similar images: Separate photos, screenshots, and graphics so each batch can use the right format and settings.
- Choose the right format: Use JPEG or WebP for photos and PNG for graphics, text, or transparency.
- Set quality to 75–85%: This usually gives a strong size reduction while keeping images sharp and clear.
- Compress the batch: Apply the same settings to all images in that group instead of processing them individually.
- Check a few results: Open several compressed images at 100% zoom. If they look good, use the same settings for the rest.
For photographers handling large client galleries, batch compression saves time and reduces file sizes before delivery. Once ready, send large photos free with LargeFileTransfer.
Common Mistakes That Ruin Image Quality When Compressing
Poor compression choices can make images blurry, pixelated, or unnecessarily large, defeating the purpose of reducing file size.
Most quality problems come from a few simple mistakes that are easy to avoid with the right approach.
Here are the mistakes that cause visible quality loss:
- Compressing the same JPEG repeatedly: Each re-save can remove more image data and cause generation loss.
- Fix: Compress the original image once whenever possible.
- Using PNG for photographs: PNG creates much larger photo files without a meaningful quality benefit.
- Fix: Use JPEG or WebP for most photographs.
- Setting quality below 60%: Very low settings can create visible blur, blockiness, and other compression artifacts.
- Fix: Keep quality around 75–85% for most images.
- Resizing after compressing: Compression is wasted on pixels that will later be removed.
- Fix: Resize the image to the needed dimensions before compressing.
- Ignoring the image format: The format can affect file size more than the quality percentage alone.
- Fix: Choose JPEG, WebP, or PNG based on the image type first.
Why It’s Safer to Compress Images in Your Browser?
Many online image compressors upload files to a server, while browser-based tools compress images locally, so your files never leave your device.
This matters for private, unpublished, or client images because local processing keeps your files off third-party servers.
Here’s what that means in practice:
- Faster: Compression happens directly on your device without an upload and download round-trip.
- More private: Your image is not sent to or stored on a third-party server.
How LargeFileTransfer’s Image Compressor Works?
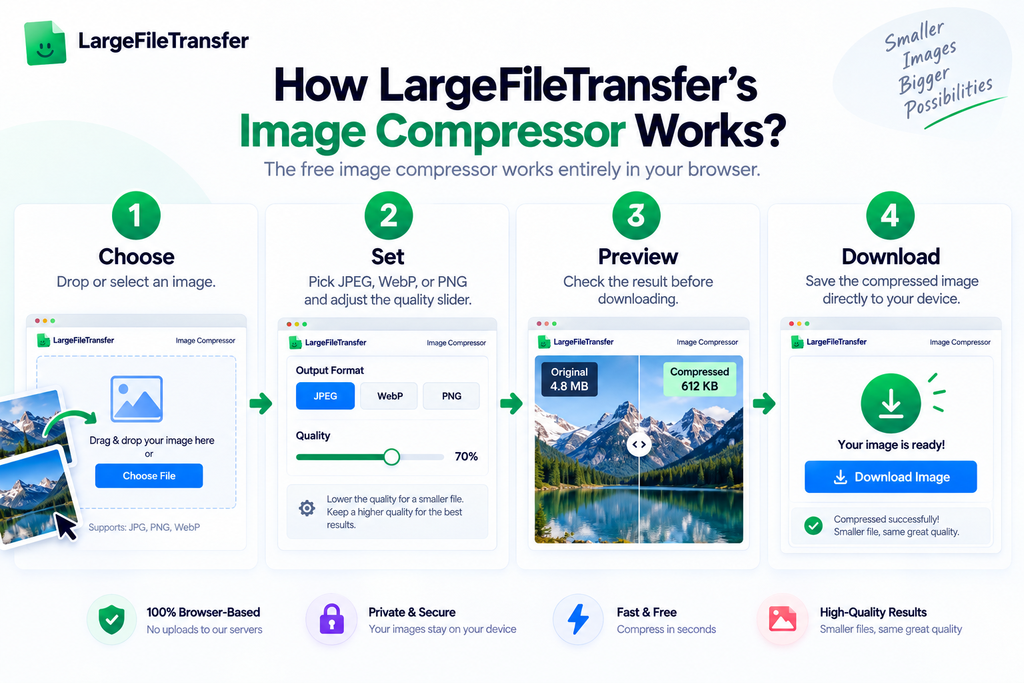
The free image compressor works entirely in your browser.
- Choose: Drop or select an image.
- Set: Pick JPEG, WebP, or PNG and adjust the quality slider.
- Preview: Check the result before downloading.
- Download: Save the compressed image directly to your device.
Try the free Image Compressor now to compress your images privately.
Once your images are compressed, sending the full batch is the final step.
Final Notes
Reducing image file size without losing quality means choosing the right settings instead of using maximum compression.
Choose the right format and start around 75–85% quality to cut file size dramatically while keeping images visually clear. When needed, resize the image first to remove unnecessary pixels and create a smaller final file.
The goal is simple: find the smallest file where quality loss is still genuinely invisible.
Try the free Image Compressor to shrink your images, then send full galleries or batches free with LargeFileTransfer.
FAQ
- How much can you reduce an image file size?
You can often reduce image files by 50–80%, depending on the original format, dimensions, and compression level.
- What image size is best for a website?
Aim for under 200 KB for hero images and under 100 KB for inline images where possible.
- Can I compress multiple images at once?
Yes. Batch compression applies the same settings to multiple images, saving time compared with processing them individually.
- Should I resize an image before uploading it?
Yes. Resize it to the dimensions actually needed to remove unnecessary pixels and reduce file size.
- Does image compression remove metadata?
It can. Removing unnecessary EXIF data can reduce file size without affecting the visible image.
- Can image compression make a photo blurry?
Yes, but excessive compression is usually the cause. Keeping quality around 75–85% helps preserve detail.
- What is EXIF data in an image?
EXIF data is hidden information such as camera settings, timestamps, and location details stored with an image.
- How do I compress a large folder of photos?
Group similar photos, apply the right format and quality settings, then batch compress and spot-check the results.