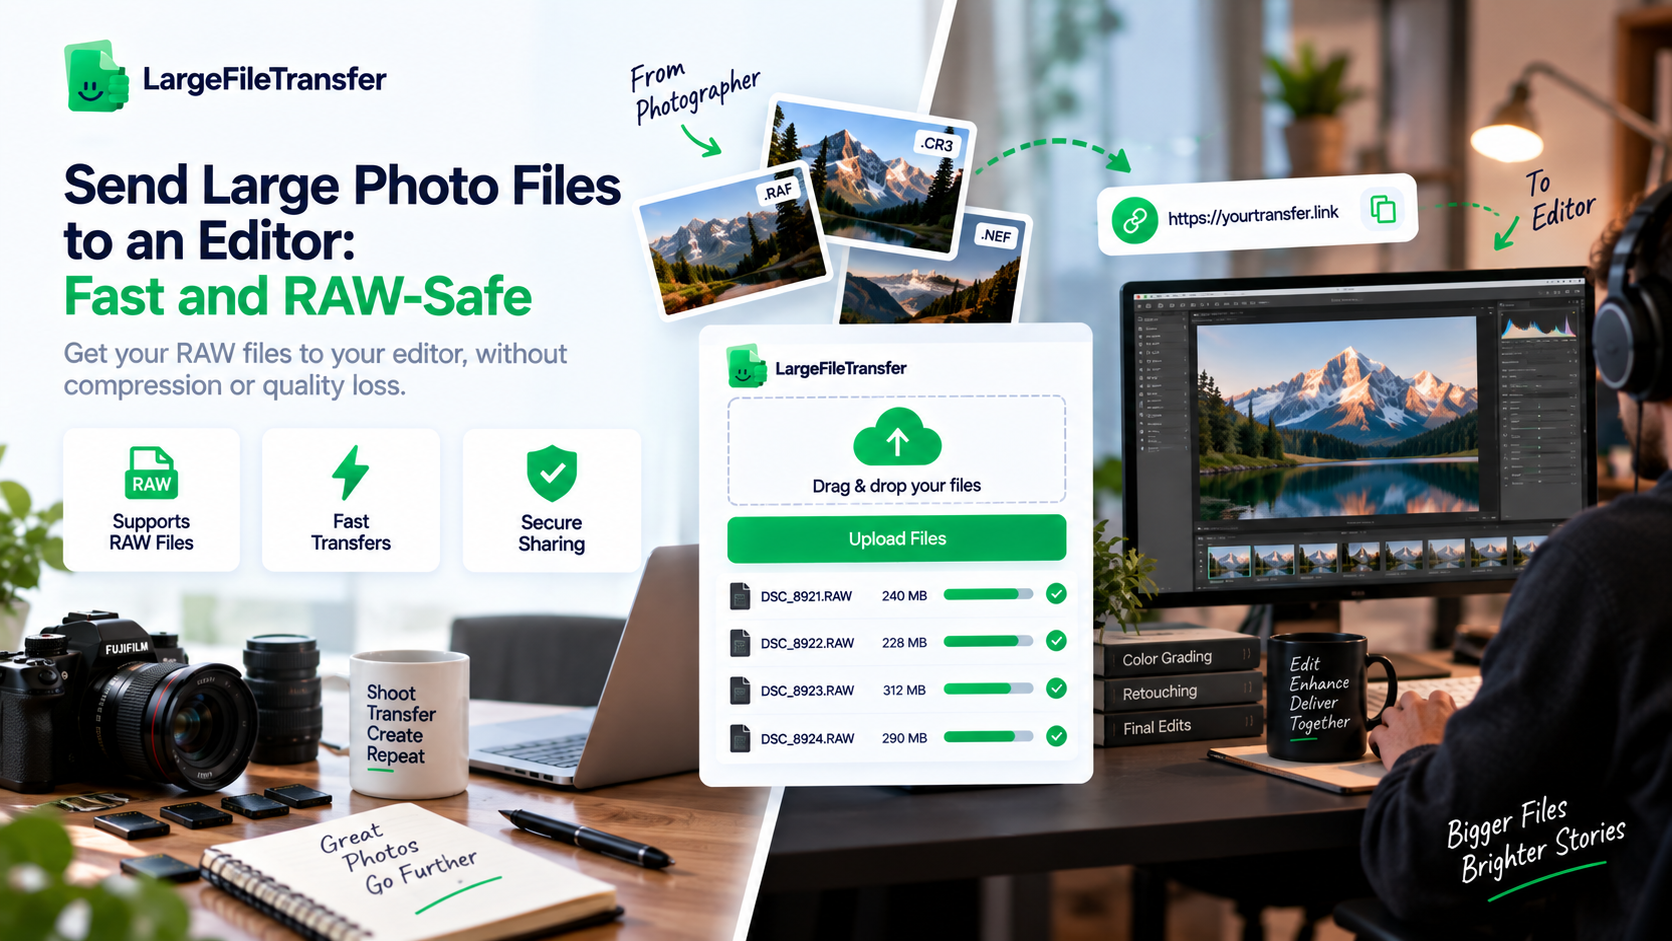
Send Large Photo Files to an Editor: Fast and RAW-Safe
Have you ever tried to email or DM a batch of RAW photos to your editor, only to have the transfer fail or the files arrive as compressed JPEGs? When you need to send large photo files to an editor, that mistake can force you to resend the entire shoot.
A failed transfer wastes your editor’s time and can cost you money, especially when a paid shoot has a tight deadline. One delay can push back the editing, review, and final delivery.
This guide shows you how to choose the right transfer method for your shoot size, keep RAW files and color data intact, and organize your handoff properly. A clean transfer gives your editor the files they need and helps them start working sooner.
Why Email and ZIP Files Fail for Large Photo Transfers?
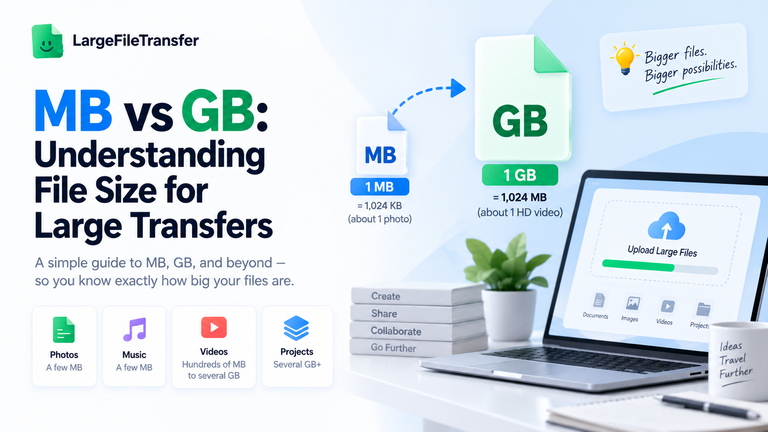
Most email services limit attachments to roughly 25 MB, so a single folder of RAW photos can exceed the limit almost immediately.
When photographers try to work around that limit, three problems usually appear:
- ZIP files still have a size limit: Zipping several RAW files creates one package, but that package must still stay below the email attachment limit. A large wedding or commercial shoot can exceed the limit before you even reach your editor.
- Compressing photos hurts editing quality: RAW files contain the detail, color information, and metadata your editor needs for culling and retouching. Reducing them to smaller JPEGs can remove information that cannot be recovered later.
- Transfers cannot resume easily: A large upload can fail when your connection drops, leaving you with a restart instead of a simple continuation from where it stopped.
For that reason, email and ZIP files are poor choices when you need to transfer photos to an editor reliably.
Cull the shoot first, so you only send the images your editor actually needs instead of moving the entire camera dump.
Cull Your Shoot Before You Send It
Culling means removing duplicate, blurry, or unusable frames before transferring your shot to the editor. It is the fastest way to reduce thousands of captures to the images actually worth editing.
A wedding can easily produce 3,000–5,000 RAW frames, but your editor rarely needs every frame from the camera card. Sending the complete dump wastes upload bandwidth and leaves your editor sorting images that will never reach the client.
How Culling Cuts Editor Turnaround Time and Your File Size?
Think about the difference between these two handoffs:
3,000 RAW files
→ Editor spends hours reviewing, rejecting, and comparing frames
→ Editing starts later
→ Larger upload and download
400 pre-culled RAW files
→ Editor starts editing the same day
→ Less time spent sorting
→ Smaller transfer moves faster on both ends
Photo Mechanic and Aftershoot are built for fast photo selection, while Lightroom lets you flag and filter your keepers. Choose the tool that fits your existing workflow instead of adding unnecessary steps before you send large photo files to an editor.
Use this quick checklist before starting the transfer:
- Remove obvious misses: Delete focus failures, accidental frames, closed-eye shots, and unusable exposures.
- Trim burst sequences: Keep the strongest frame from near-duplicate bursts instead of sending every variation.
- Separate your selects: Mark your top picks separately from safety selects so the editor knows which images matter most.
Culling does more than reduce your upload size; it gives your editor a cleaner job and removes unnecessary sorting from the process.
Once the shoot is culled, the next decision is choosing a transfer method that matches the remaining file size.
Choosing the Right Tool by Shoot Size
The right transfer method depends mostly on the total size of your shoot, rather than which platform you personally prefer.
Use these three size tiers to match your photo handoff with the simplest tool that can handle it reliably.
- Under 2 GB: Quick Link Transfer
For shoots under 2 GB, a quick link-based transfer is usually enough for a same-day proof set or small batch. You can upload the selected photos, share one link with your editor, and avoid creating unnecessary folder structures.
- 2–50 GB: Cloud Folder With a Share Link
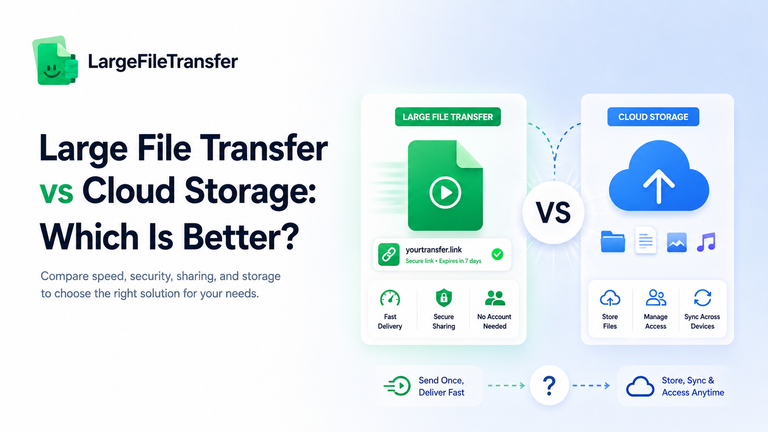
For 2–50 GB, a cloud folder with a shareable link works well when your editor may need to download files again. Keeping the folder online can save you from uploading the same photos repeatedly when your editor requests another download.
- 50 GB+: Dedicated Large File Transfer
For 50 GB or more, a dedicated large file transfer service makes more sense for full-day shoots, multi-camera weddings, or full RAW galleries. This is especially useful when you need to send RAW files to the editor without splitting the shoot into multiple smaller transfers.
Look for a service that can handle large uploads reliably and resume them after an interrupted connection, rather than forcing you to restart.
For a 50 GB+ handoff, check for these features:
- Resumable uploads: Continue an interrupted upload instead of starting the entire transfer again.
- Large file support: Send the complete shoot without manually dividing it into smaller parts.
- Original files: Keep full-resolution photographs and RAW files available without unnecessary compression or re-encoding.
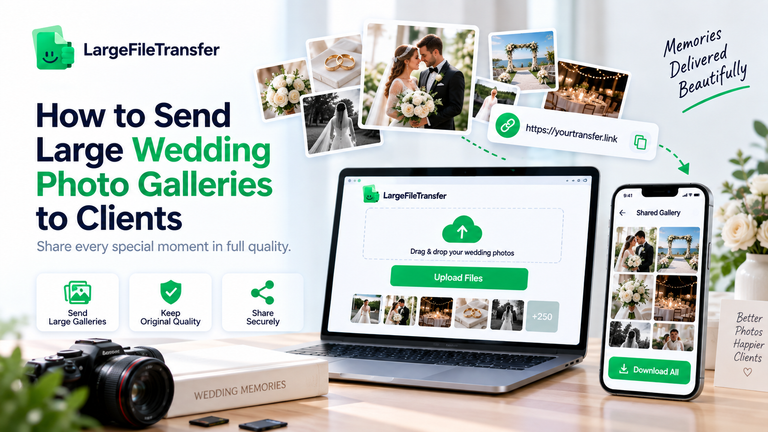
LargeFileTransfer is built for full-resolution and RAW galleries and supports resumable uploads for large photography handoffs.
You can also start with its free plan and check the current transfer limits before choosing the plan that fits your shoot.
Sending an entire shoot directly to a client requires a slightly different workflow than handing files to an editor. Learn how to send a full photo shoot to clients with practical guidance on delivery, organization, and client access.
How to Send RAW Files to an Editor Without Corrupting Color Data?
RAW files such as CR3, NEF, ARW, and DNG should be transferred unchanged because conversion or recompression can affect the original editing data.
- Why RAW Files Need As-Is Transfer
RAW files should stay in their original format throughout the handoff. Your editor needs that original camera data for detailed adjustments, so converting or processing the files before delivery creates unnecessary problems.
What can go wrong during transfer?
- RAW-to-JPEG conversion: A CR3, NEF, ARW, or DNG converted to JPEG is no longer the original RAW file.
- Automatic compression: A platform may reduce the file before delivery, removing information your editor needs.
- Compressed previews: Some messaging and photo-sharing platforms create a JPEG preview instead of delivering the original RAW file.
The key difference:
Normal compression reduces file size, while conversion can change the actual file type your editor receives.
- Keeping ICC Profiles and EXIF Metadata Intact
Your transfer method should preserve the original file so its color and shooting information remain available to your editor.
- ICC color profile: Tells compatible software how to interpret and display the image’s colors.
- EXIF metadata: Stores capture details such as camera model, lens, exposure settings, dimensions, and capture time.
- Original-file transfer: Keeping the uploaded file unchanged avoids unnecessary processing during delivery.
Check these three things before sending:
- Confirm “as uploaded” delivery
Make sure the service does not convert, recompress, or modify your files. - Test the downloaded extension
Download one file and confirm that CR3, NEF, ARW, or DNG remains the same. - Check the primary download
Make sure your editor receives the original file, not a compressed JPEG preview.
LargeFileTransfer does not compress or re-encode files during transfer, helping you deliver the original RAW files to your editor.
Once the files are protected, organize the folder so your editor can immediately understand what belongs where.
RAW delivery becomes a separate consideration when the original files need to reach a client rather than an editor. Learn how to send RAW files to clients without losing quality without unnecessary conversion or compression.
Folder Structure and Naming for Editors
A consistent folder and naming system lets your editor start working immediately instead of figuring out what each file represents.
When an editor handles several clients, unclear folders can lead to mixed-up jobs, missed images, and unnecessary messages. A predictable structure becomes even more useful when your photographer editor file transfer includes several galleries or multiple shoot dates.
Use this simple structure for every handoff:
1. Start with the client and shoot date
Smith_Wedding_2026-09-12
- Folder name: Client name + shoot type + date
- Purpose: Identifies the job immediately when your editor downloads multiple projects.
2. Separate your selected images
Smith_Wedding_2026-09-12
├── Selects
└── Full_Gallery
- Selects: Images you want edited first
- Full Gallery: Remaining usable images, when you have kept them
- Purpose: Your editor knows where to begin without reviewing everything again.
3. Add your editing instructions
Smith_Wedding_2026-09-12
├── Selects
├── Full_Gallery
└── Shot_List_and_Notes.txt
- Include: Must-edit images, special requests, and important shot-list details
- Purpose: Keeps essential instructions beside the files instead of scattered across messages.
4. Keep the original camera filenames
- Do: Keep names such as IMG_4582.CR3 unchanged
- Avoid: Renaming individual RAW files before sending
- Purpose: Original filenames help editors follow sequences, compare bursts, and match your notes.
This structure removes unnecessary sorting and questions, giving your editor a clearer path from download to editing.
That cleaner handoff builds on your earlier culling work and helps shorten the editor’s overall turnaround time.
How Editors Should Send Finished Photos Back?
The same size-based rules apply in reverse, so editors should return finished files without compressing the final color-graded images.
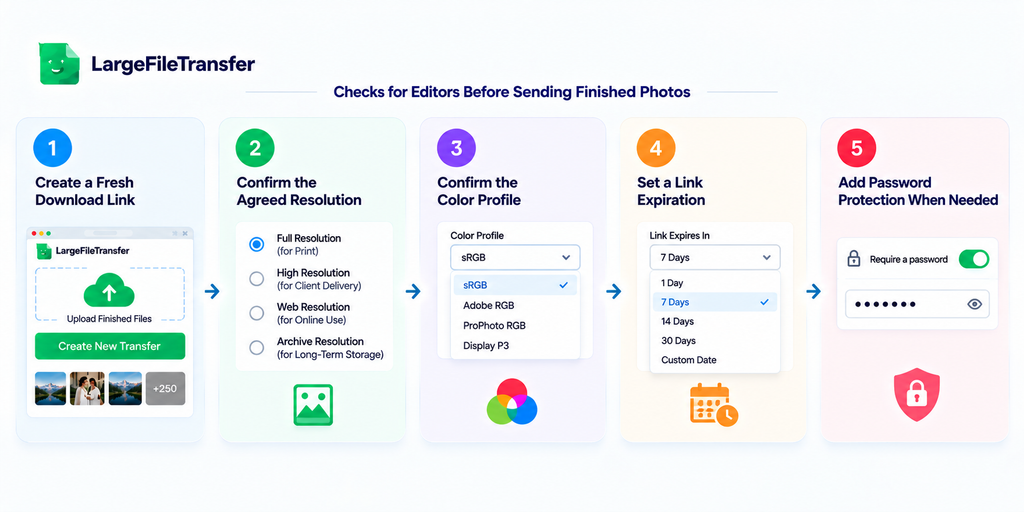
Use these checks before the editor sends the finished gallery:
- Create a fresh download link: Start a new transfer instead of replying to the original thread, so finished files do not get buried.
- Confirm the agreed resolution: Check that exported files match the resolution agreed for print, web, client delivery, or archive use.
- Confirm the color profile: Make sure the delivered JPEGs or TIFFs use the color profile agreed during the editing workflow.
- Set a link expiration: Use an expiring download link when the gallery contains private or unpublished client images.
- Add password protection when needed: A password-protected link gives unpublished client work an additional layer of access control without complicating delivery.
The goal is simple: the photographer should receive the finished files at the quality and specifications originally agreed.
Treating the return transfer as part of the workflow keeps the final delivery clean, predictable, and ready for the next step.
Final Notes
Cull your shoot first, match the transfer method to its size, and keep RAW files and color data protected from compression.
For your next editor handoff, skip the workarounds and send the complete shoot through a service built for full-resolution and RAW delivery.
See how photographers use LargeFileTransfer to send large RAW galleries to editors without splitting files or sacrificing image quality.
Frequently Asked Questions
- What’s the best way to send RAW photo files without converting them to JPEG?
Use a file-transfer service that sends RAW files such as CR3, NEF, ARW, and DNG exactly as uploaded, without conversion or compression. LargeFileTransfer supports this by not compressing or re-encoding files during transfer.
- How many photos can I send at once without the link breaking?
There is no fixed photo count because the practical limit depends on the combined file size and transfer service. Check the total gallery size and choose a service that supports the entire shoot reliably.
- Should I compress photos before sending them to an editor?
No, professional editing handoffs should avoid compression because it can reduce the color, resolution, and image information your editor needs. Use a transfer service that keeps the original files intact instead.
- How do editors usually send finished, edited photos back to the photographer?
Editors typically return finished JPEGs or TIFFs through a fresh download link that preserves the agreed resolution and color profile. An expiring or password-protected link can also protect private client work.
- Is it better to send a full gallery or selected photos to an editor?
Selected photos are usually better because your editor can start working without sorting through unnecessary frames. Send the full gallery only when the editor is responsible for making the final selections.
- Can an editor download large RAW files if the internet connection drops?
Yes, when the transfer service supports resumable transfers, the download can continue instead of restarting from the beginning. This is particularly useful for large RAW galleries and full-shoot handoffs.
- Should I send my editor the original RAW filenames?
Yes, keeping the original camera filenames helps editors track sequences, compare bursts, and match images with notes. Use a clear folder name for the project rather than renaming every individual file.